Product Updates
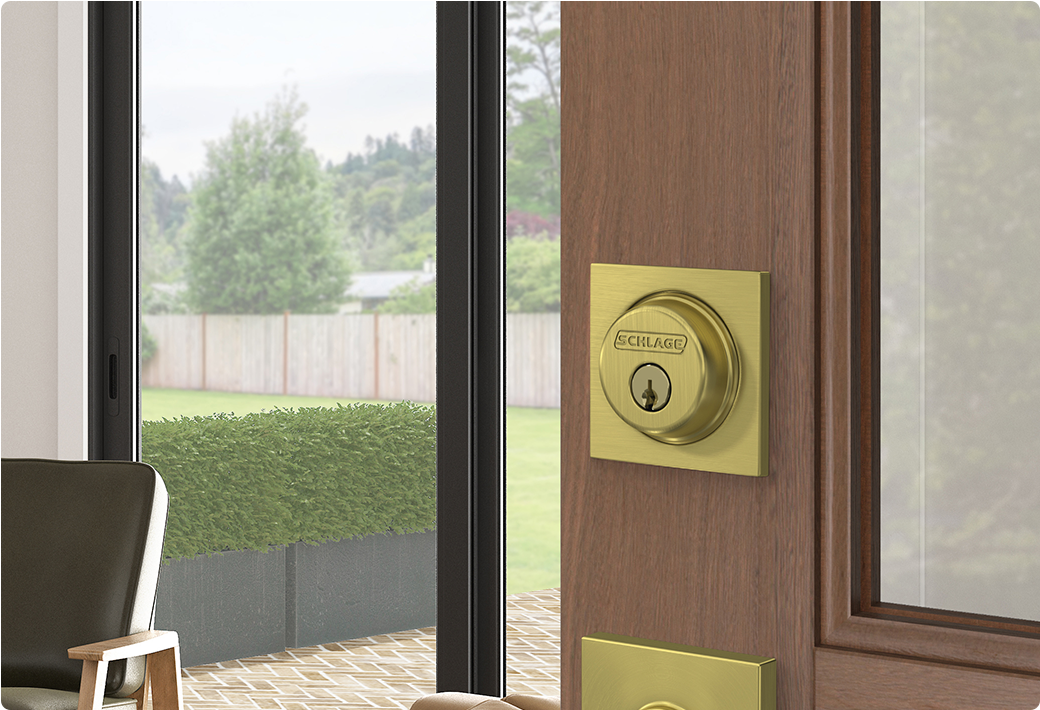
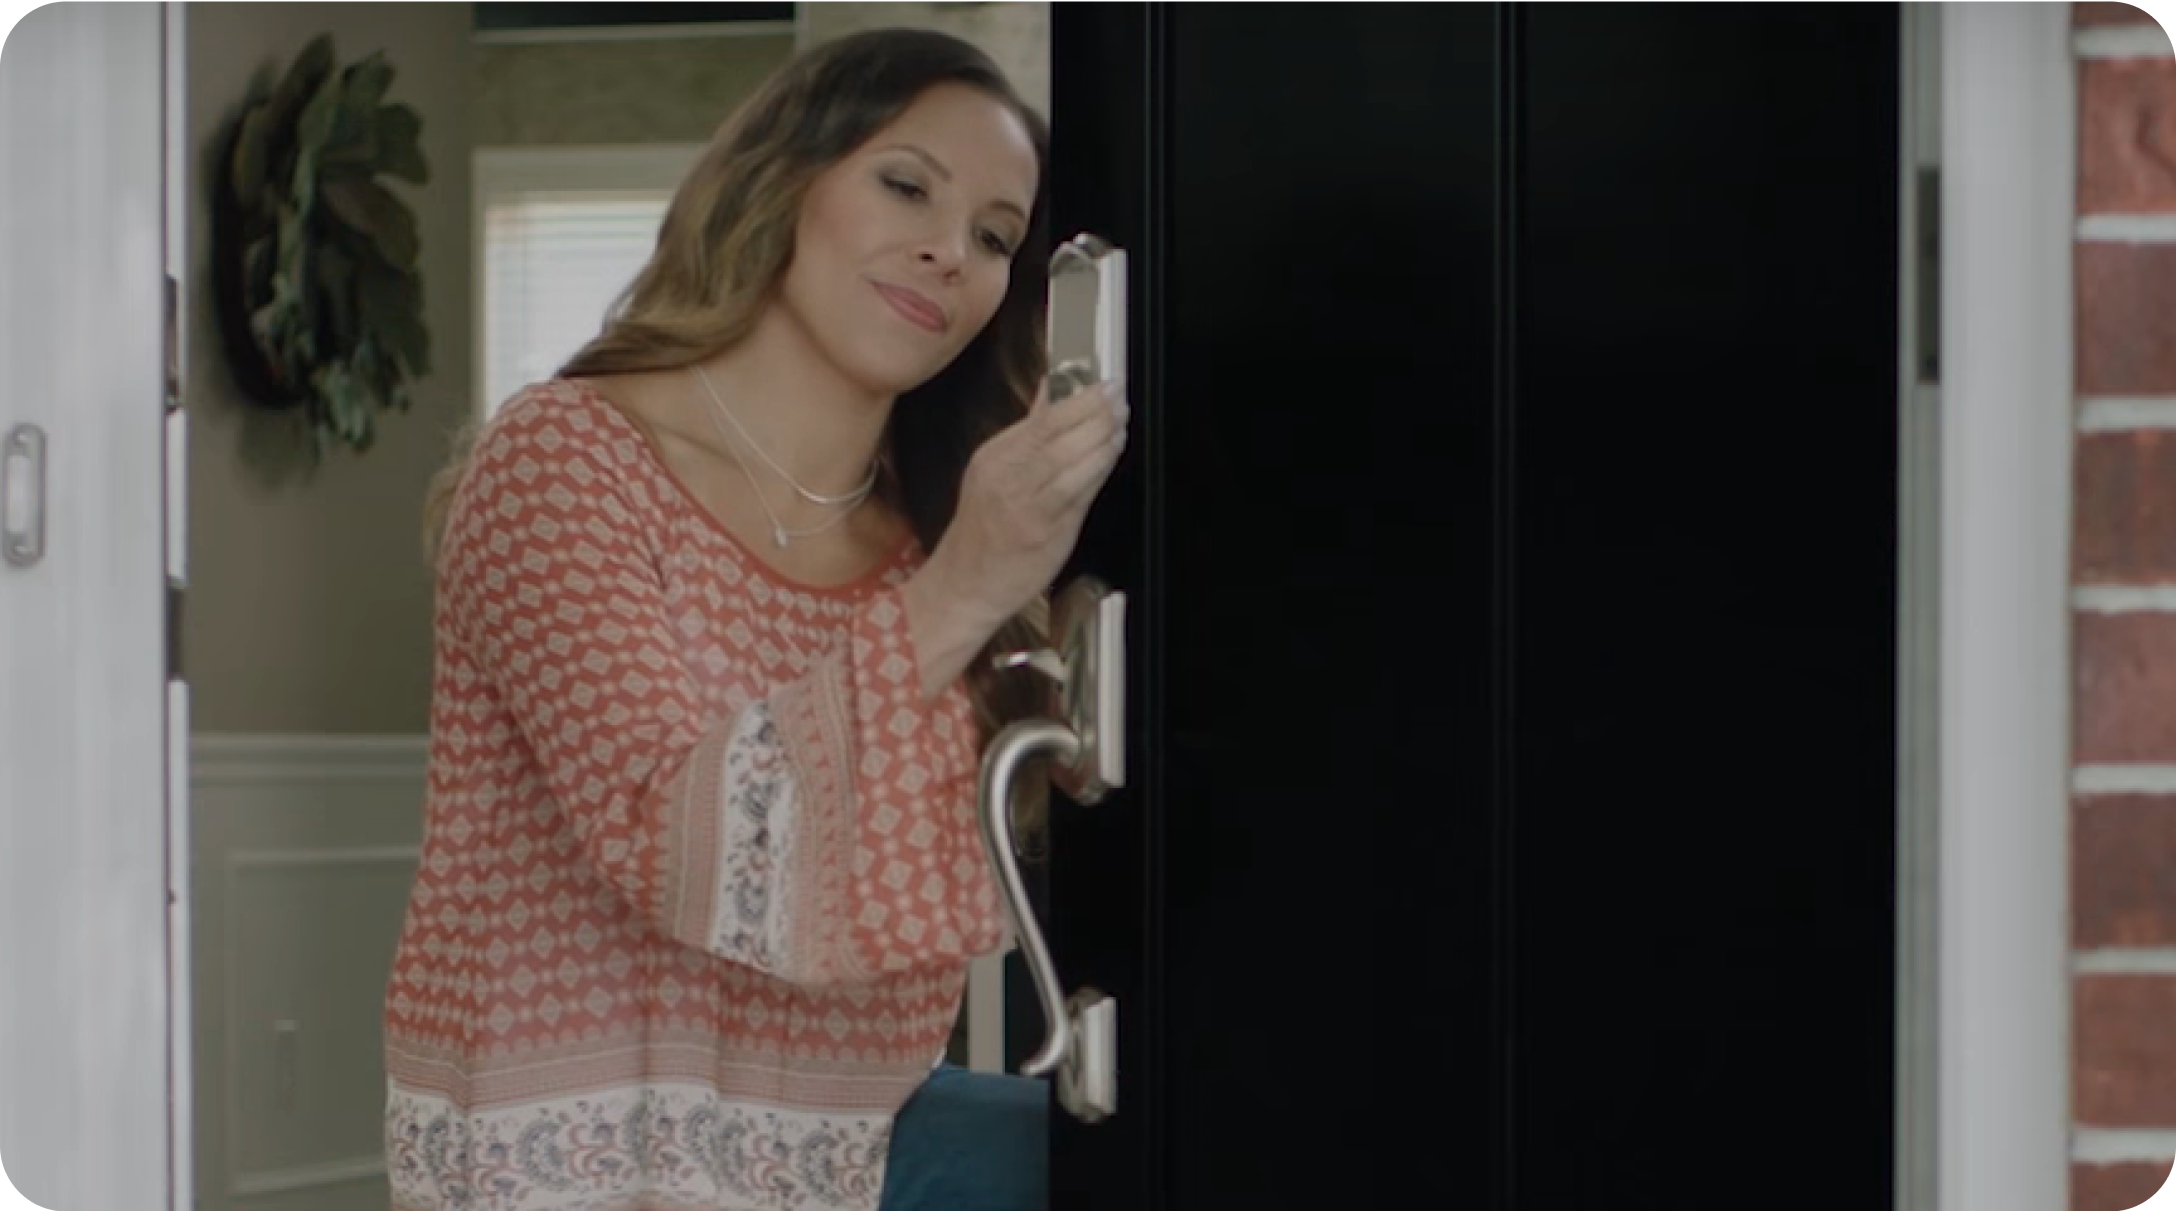
Updating your front door can be as simple as adding a fresh coat of paint and new hardware. Both DIY door projects are easier than you think and can be tackled in less than a weekend. To help you achieve your new look – and improve the security on your home – we're going to show you how easy it is to install a new deadbolt lock.
Before we get started, be sure your door is properly drilled and aligned. This will help to ensure installation goes smoothly and the deadbolt is as secure as possible.
Next, collect the tools you need to install your door hardware. All you need is a tape measure and a #2 Phillips Head screwdriver. Keep in mind that an electric drill is not recommended for installation as it can easily strip the screws and damage your lock.
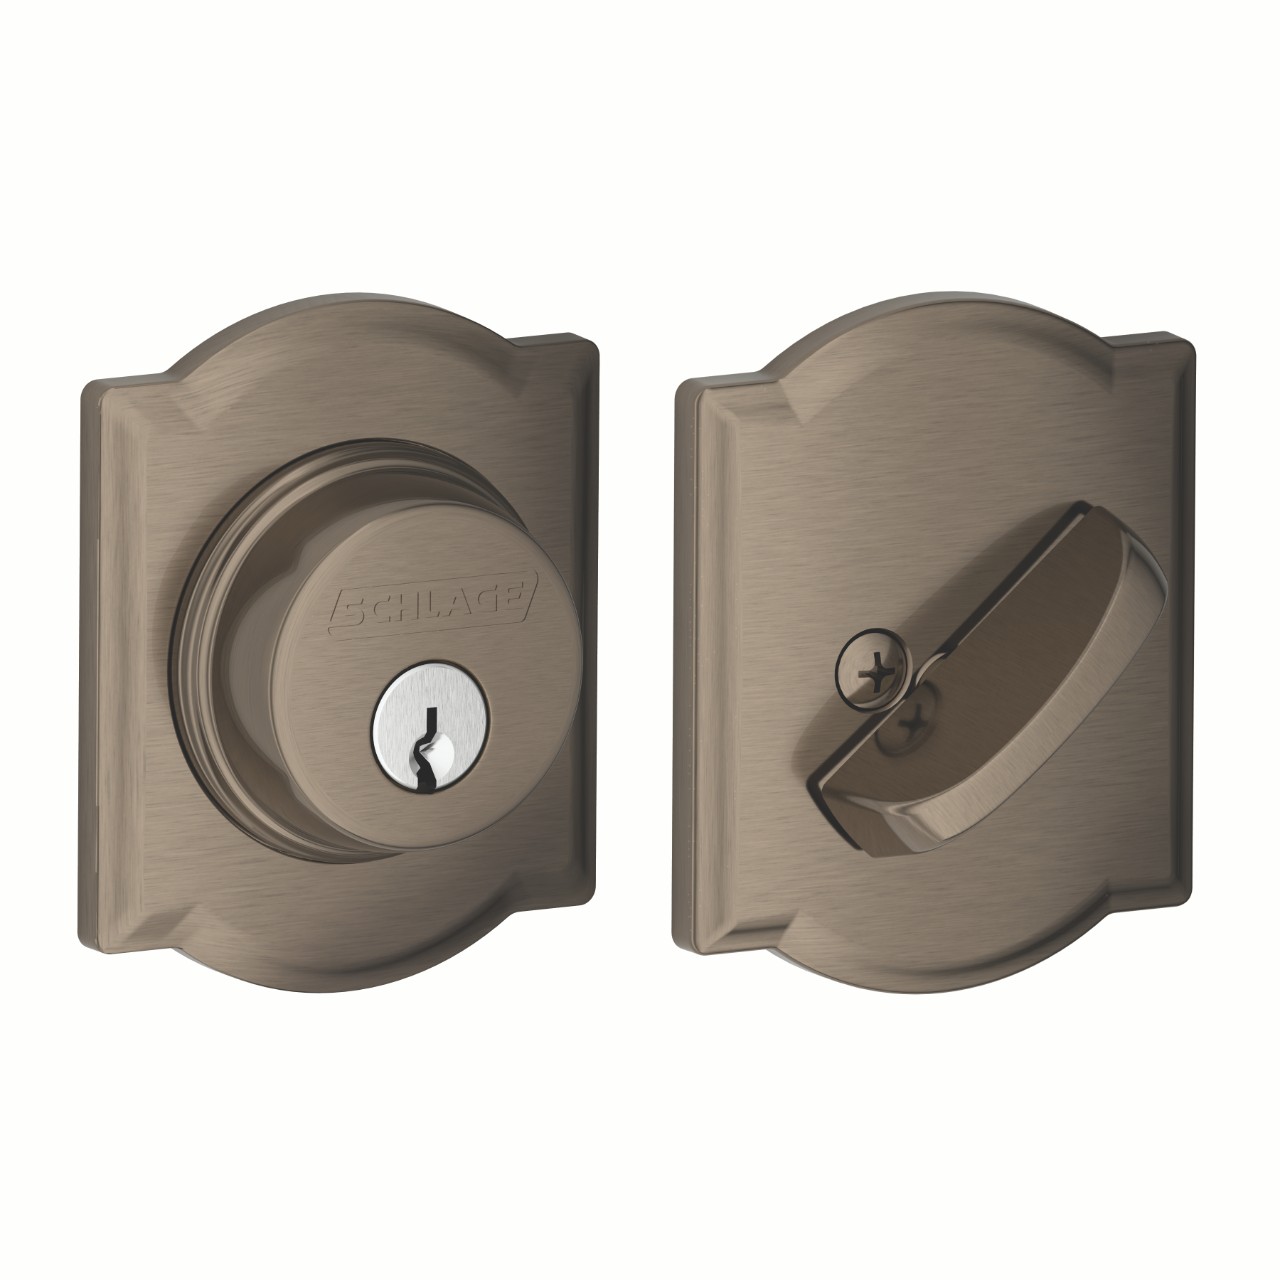
Once you've gathered your tools, you're ready to get started installing your deadbolt lock. The first step is to ensure you have all parts. Here's a checklist to help.


The latch comes with a pre-attached rectangular faceplate. If you’re using the rectangular faceplate, continue to Step 2 now.
If you need to replace it with the round drive-in faceplate, follow steps a-c below. You'll need a flat head screwdriver, hammer and block of wood with this setup.
If your backset measures 2 3/4", the bolt is easily adjusted by simply twisting the faceplate. You'll see and hear the bolt snap in to place.


For the drive-in faceplate, slide it into place with the word “top” facing up and gently tap it using a block of wood and hammer until it is flush with the door’s edge.

If your crossbore measures 2-1/8", you're ready to move to Step 5 now. However, if it measures 1-1/2", remove the Snap and Stay bracket using the steps below.
Align and insert the tail piece with the bolt. If you're using the Snap and Stay bracket, simply snap the outside housing into the hole.

The tapered tip of the screws allows them to easily line up and thread.

If you choose to, install the reinforcement plate on the door frame, making sure it is oriented correctly as indicated on the plate. Secure it in place with the two wood screws. In some cases, some additional work might need to be done to the door jamb to allow the strike plate to be secured on top.


Now that the installation is complete, it's important to test the lock to make sure everything is in proper, working order.

Remember to leave the door open while you test the lock.

It should extend and retract smoothly. If the deadbolt drags or hits the strikeplate while testing with the door closed, you'll need to adjust the strike or doorjamb for better alignment.

Visit the Schlage How-To Center for more videos showing how to install door hardware, including interior knobs and levers, front door handlesets and smart locks.
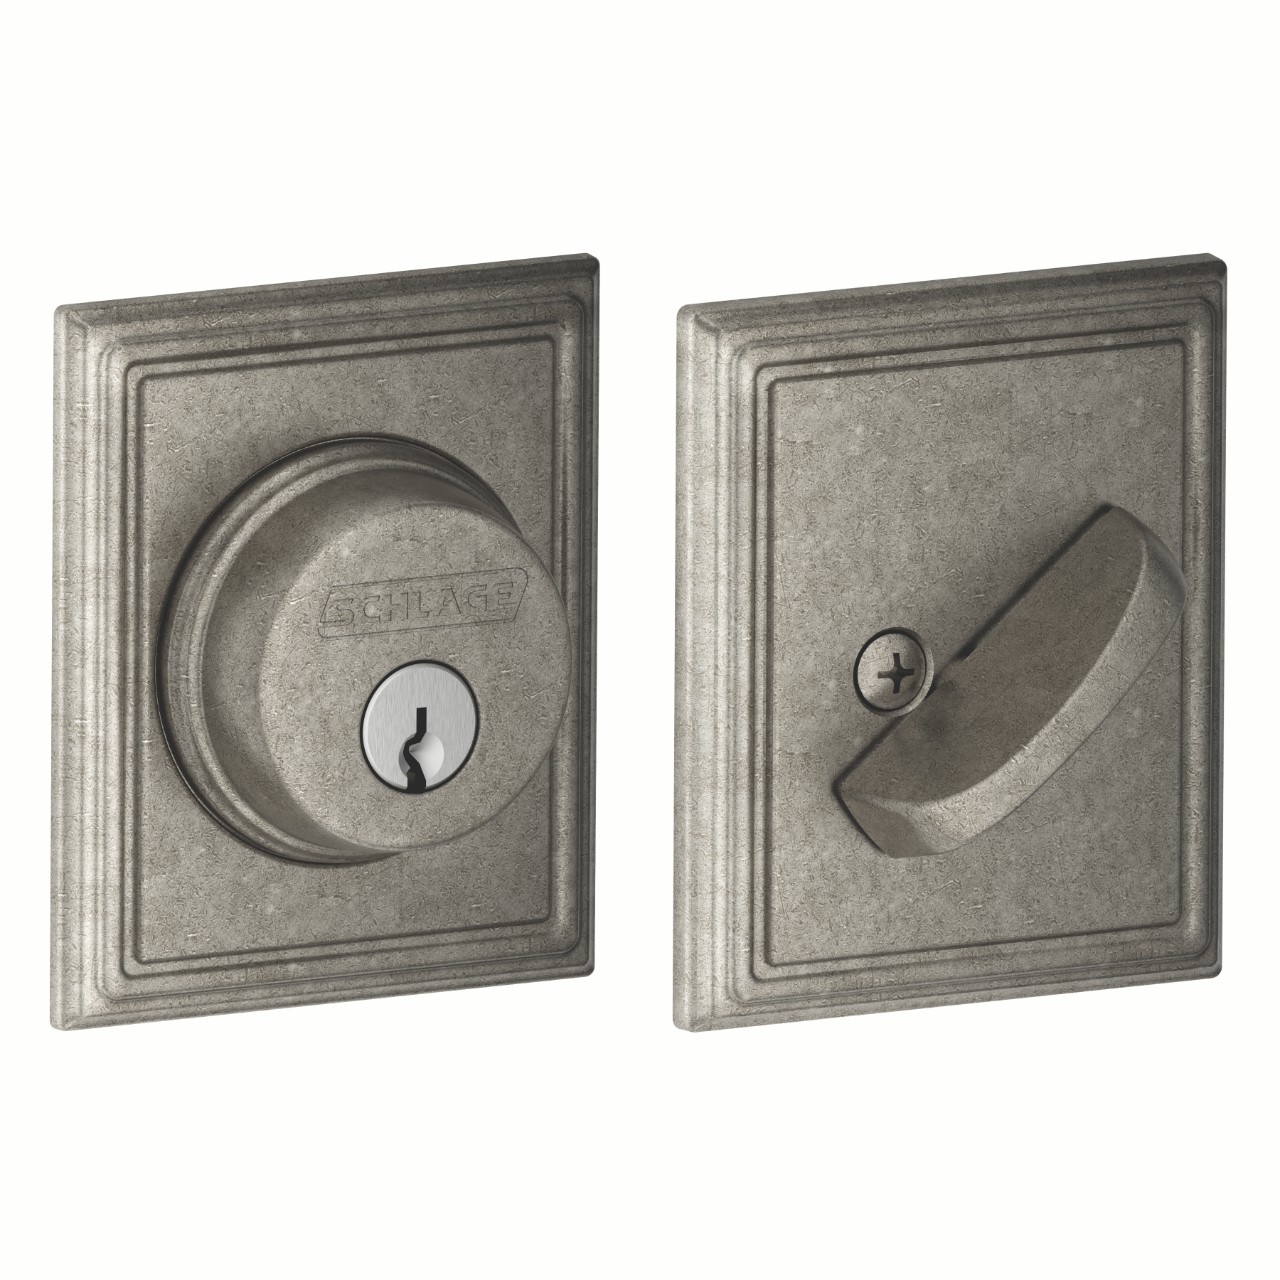
Collins TRIM
From $43.99
From $43.99

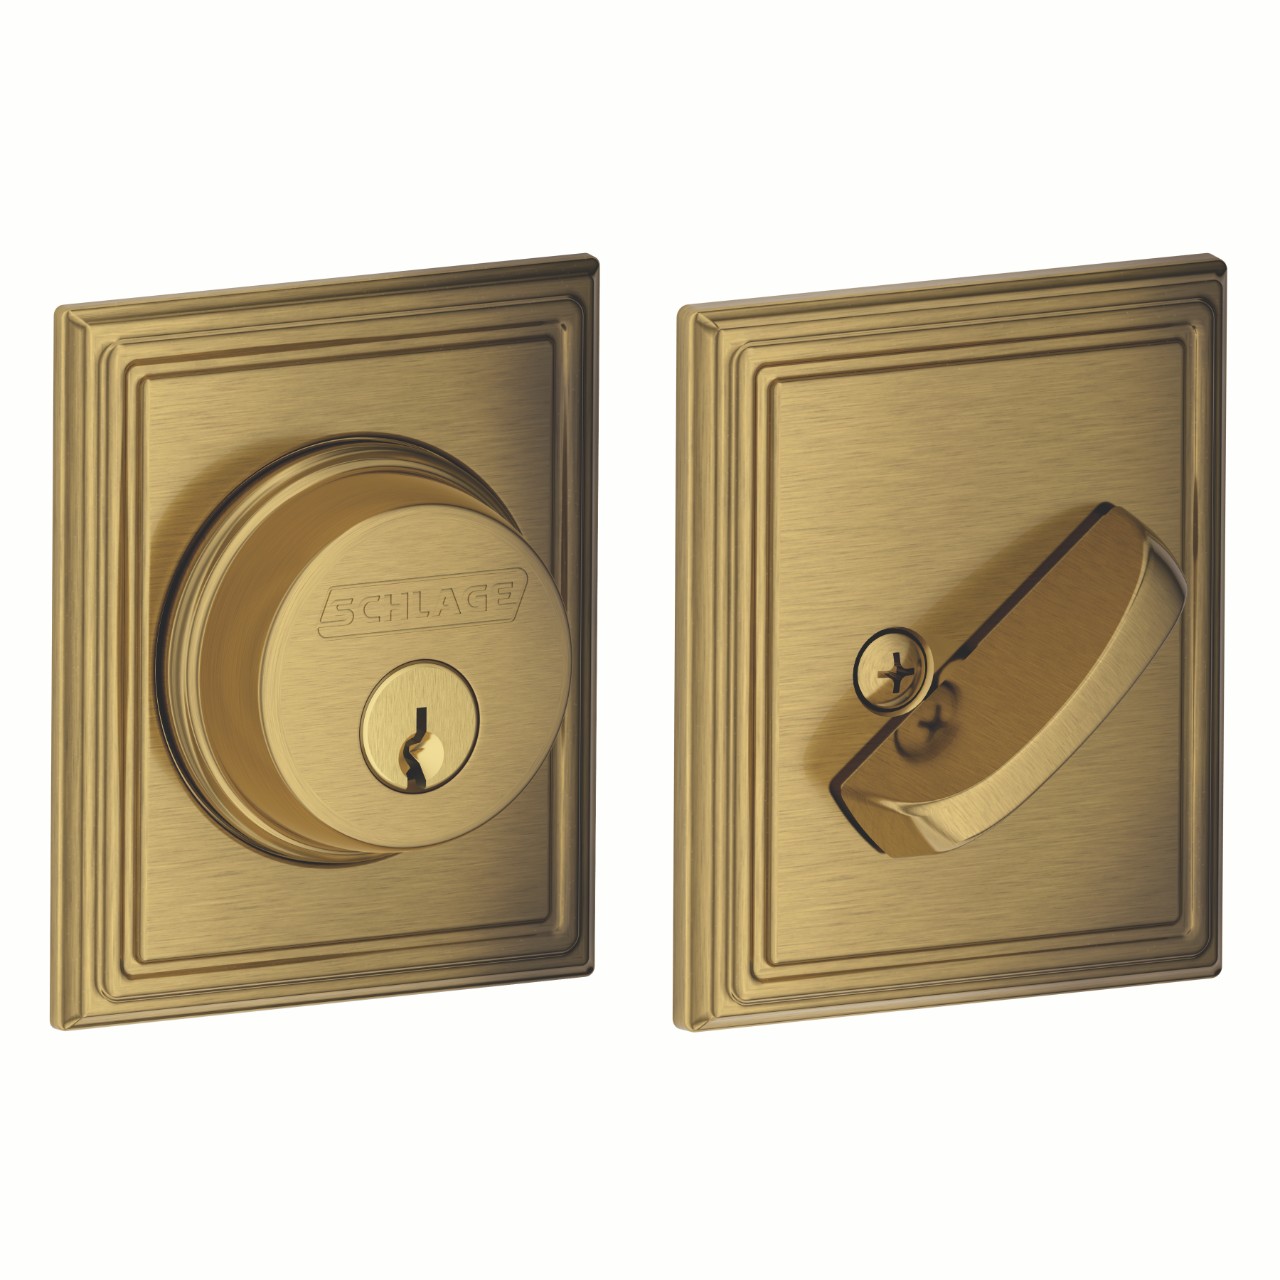
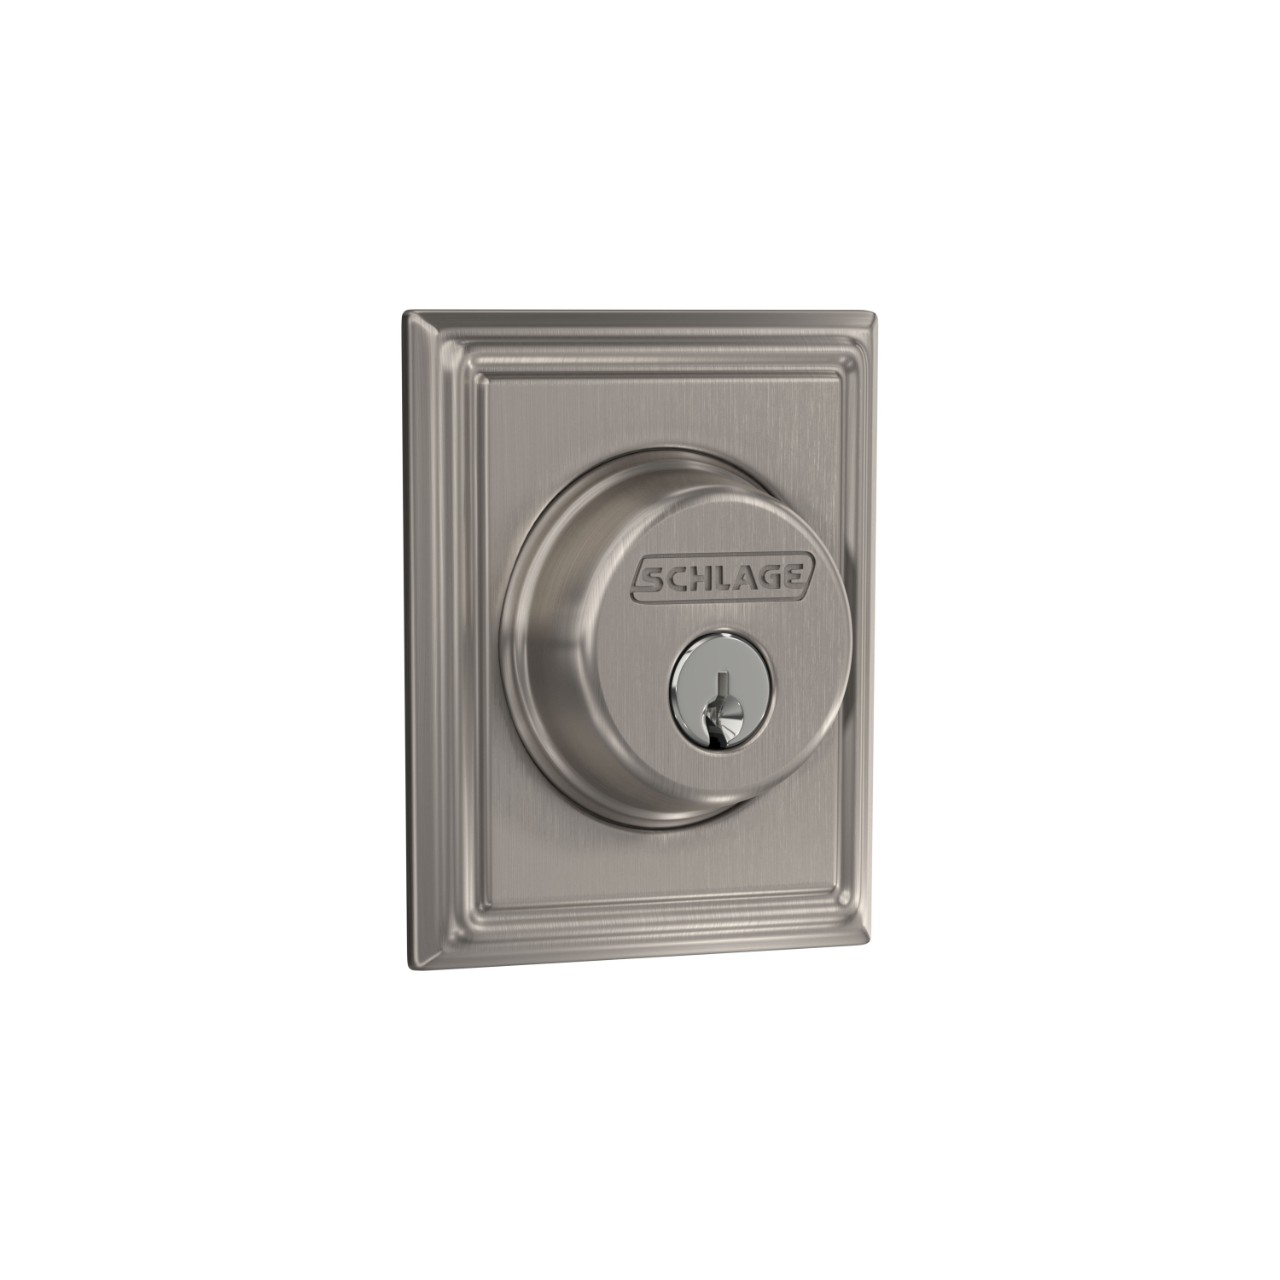
Addison TRIM
From $37.99
From $37.99
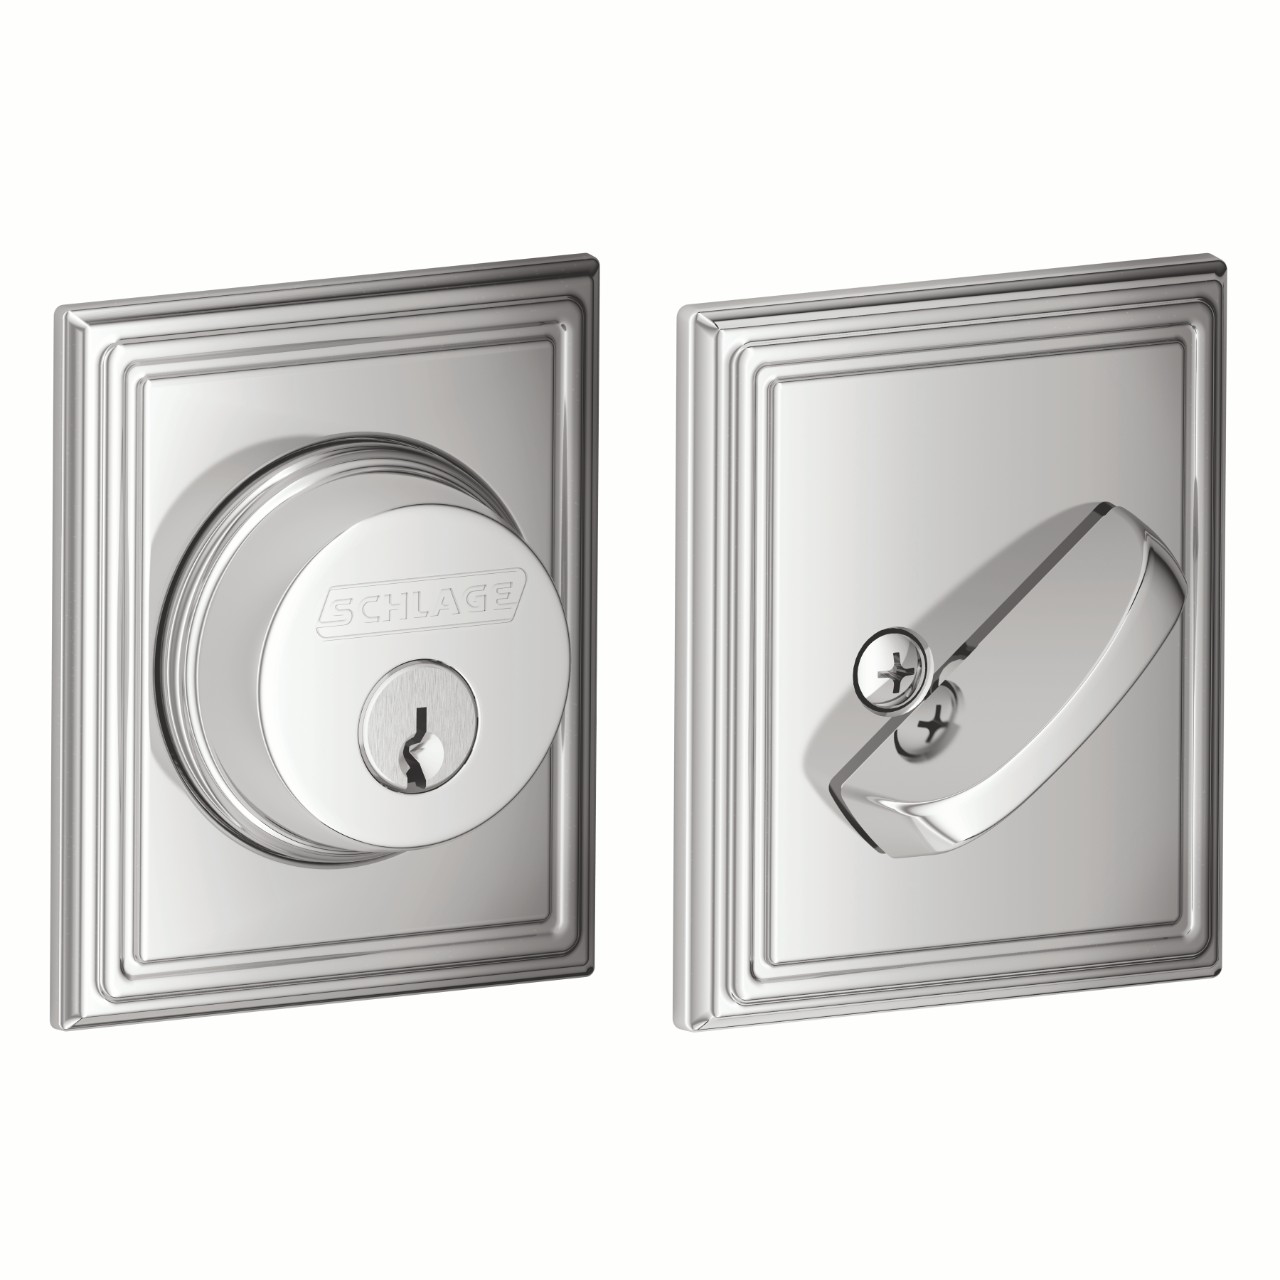

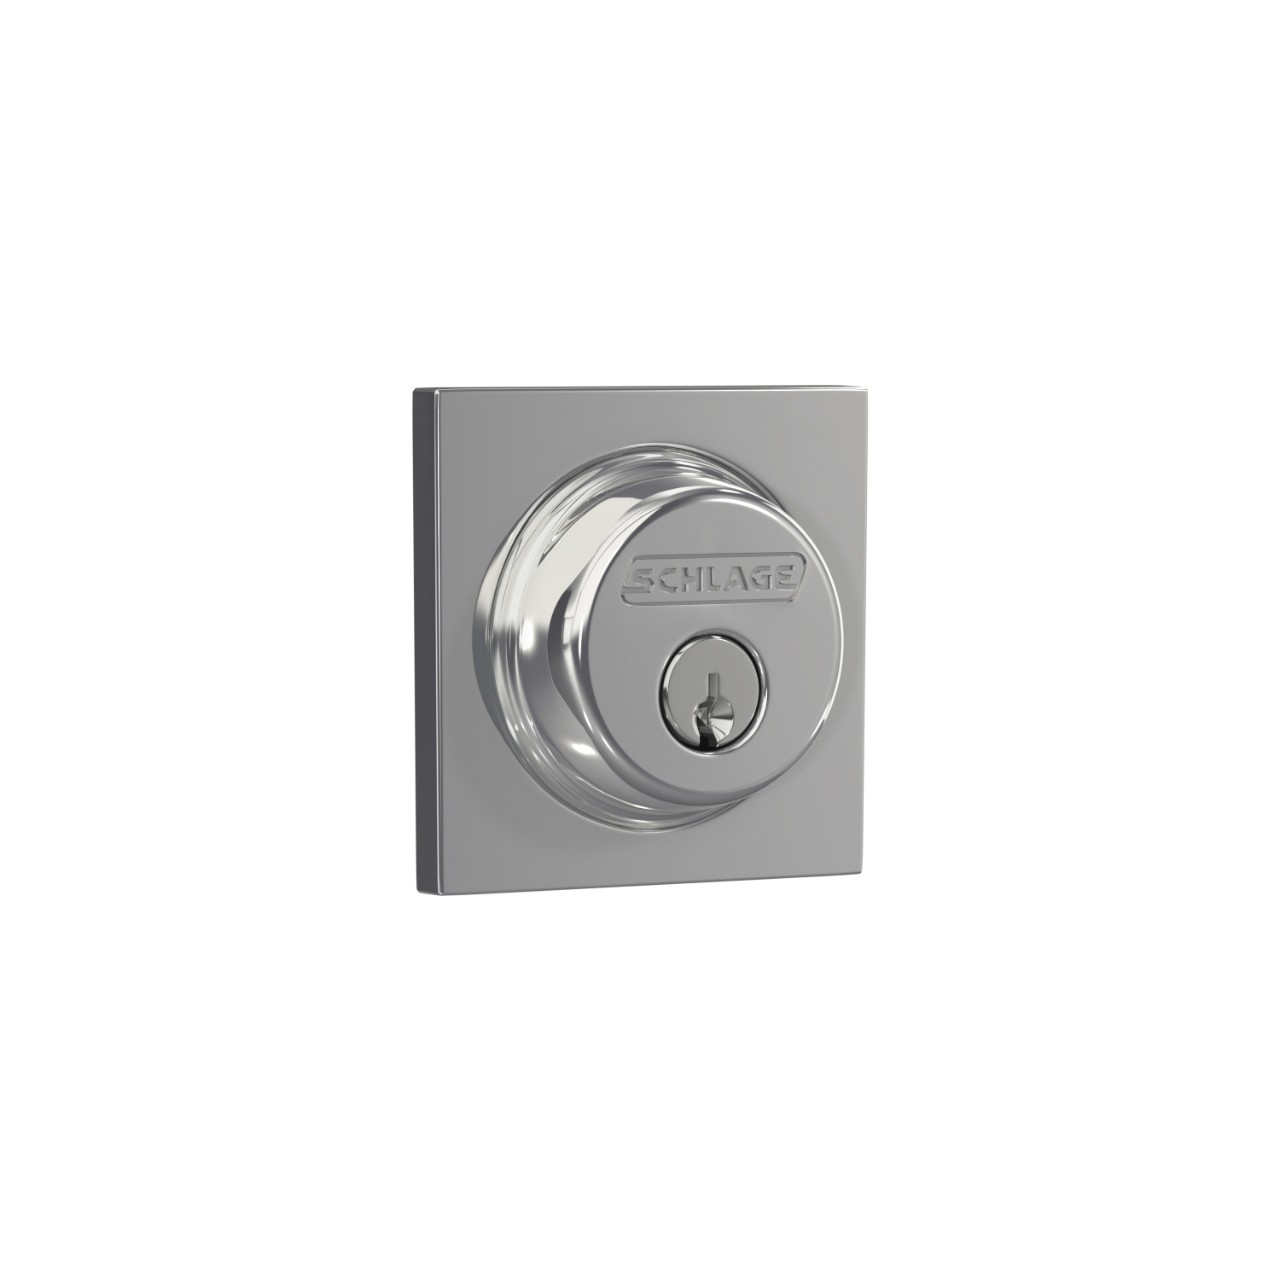
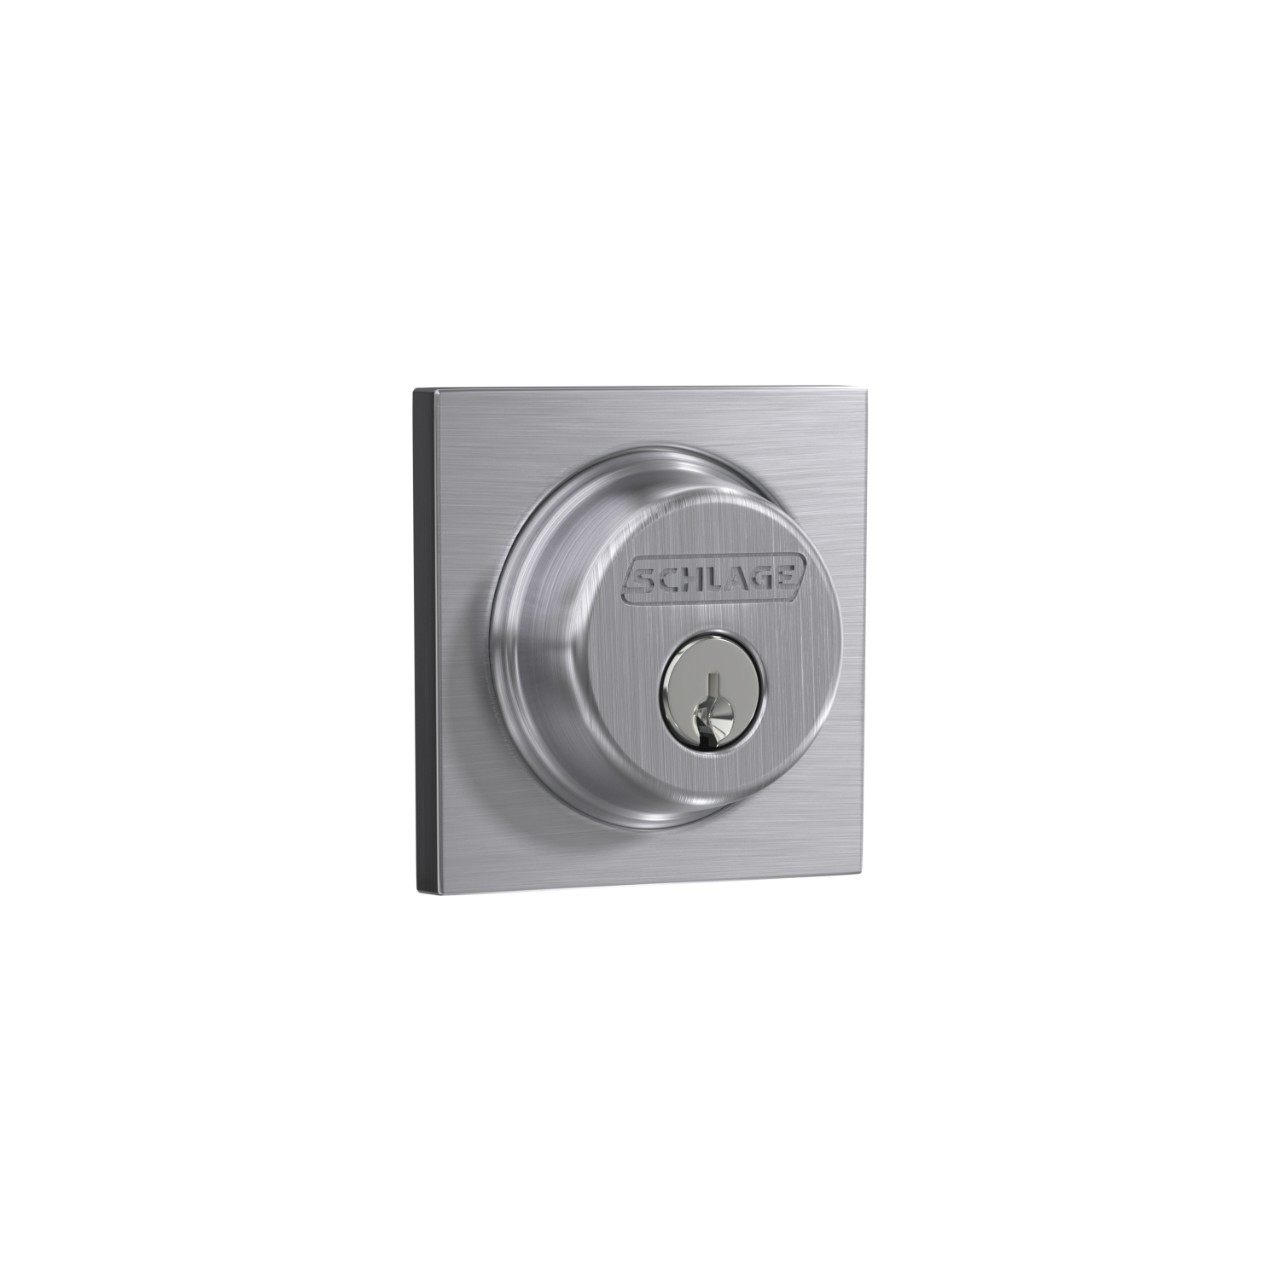
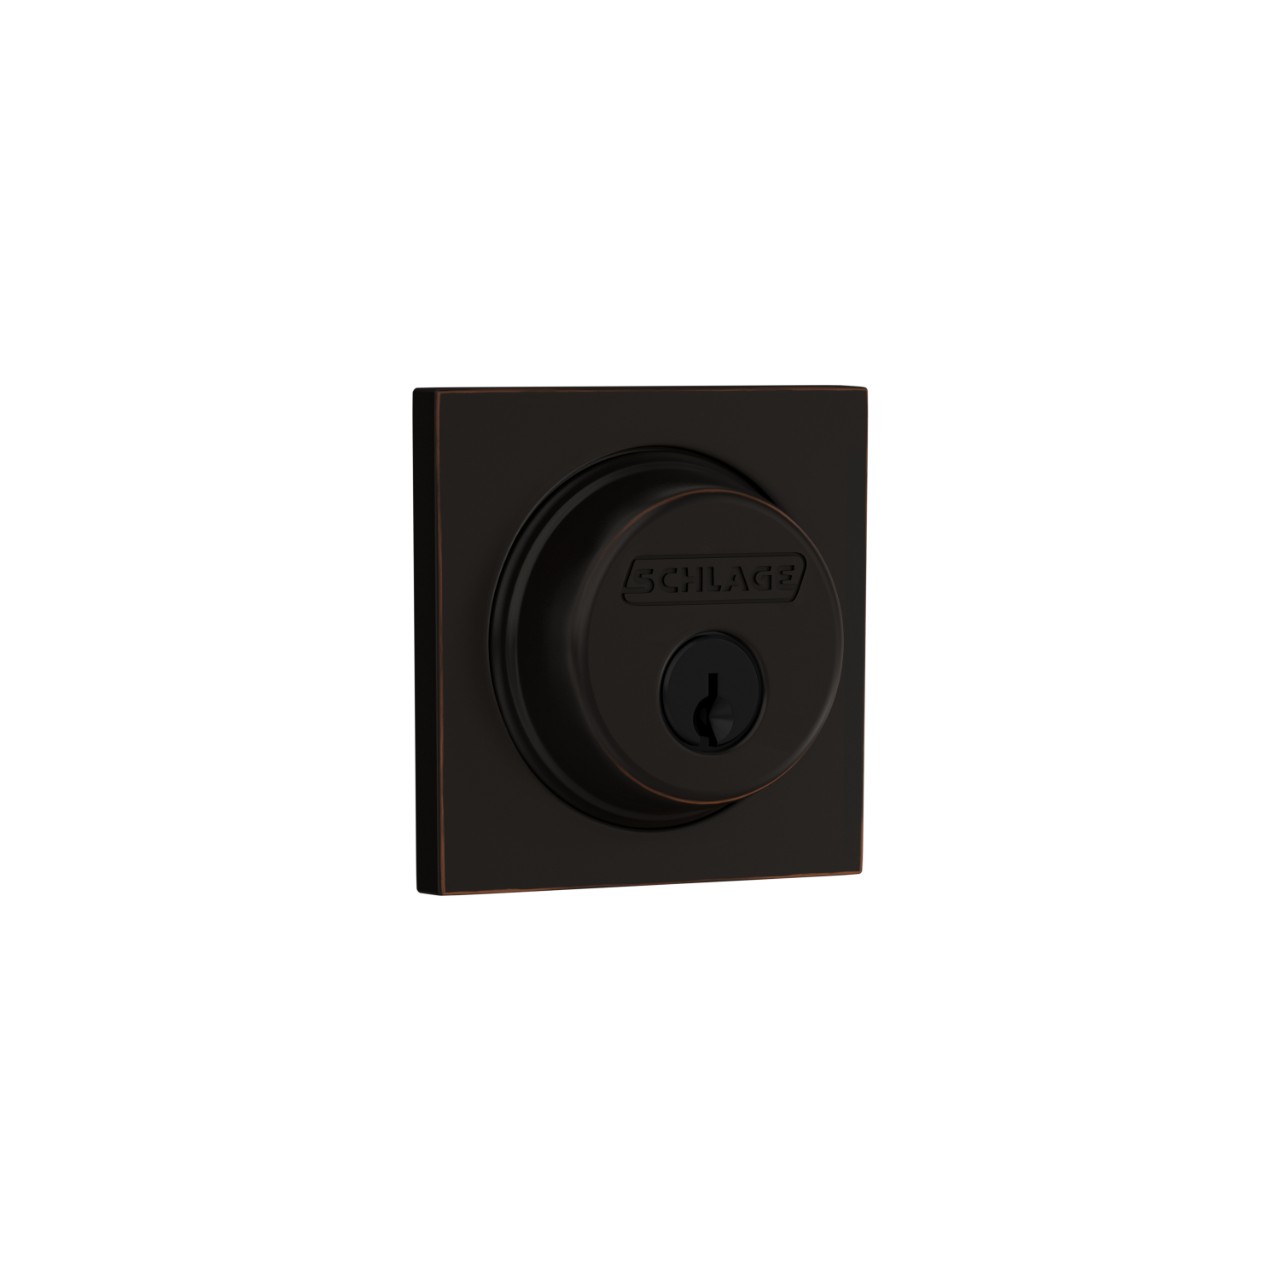
Standard TRIM
From $32.99
From $32.99
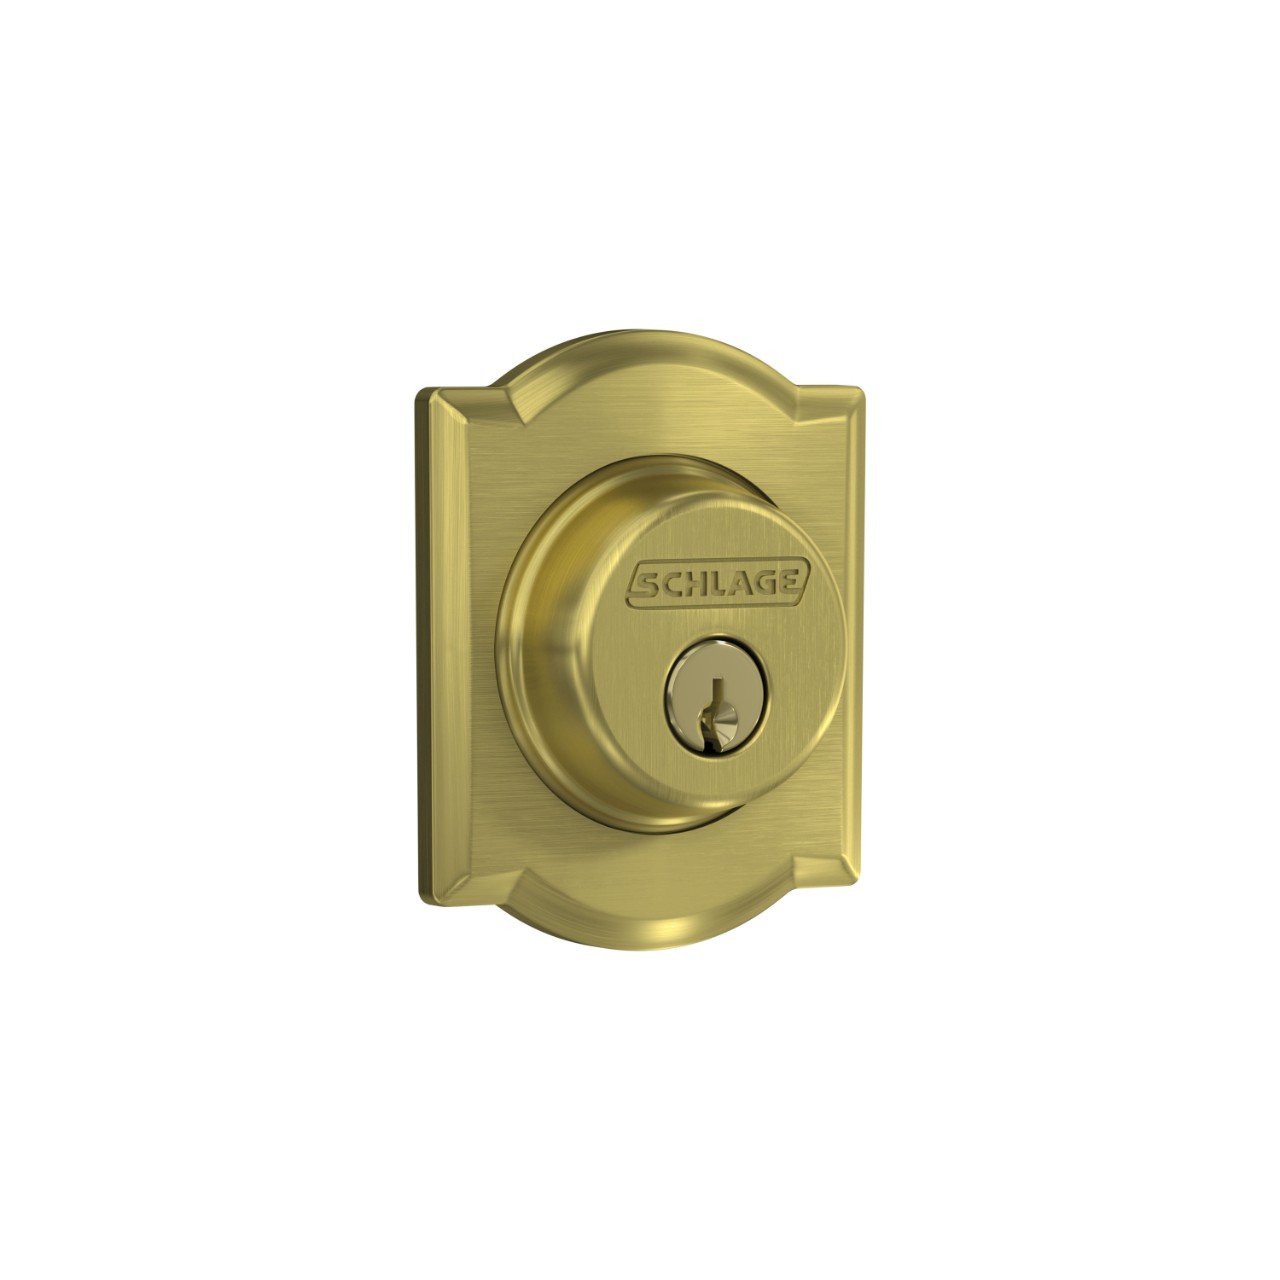
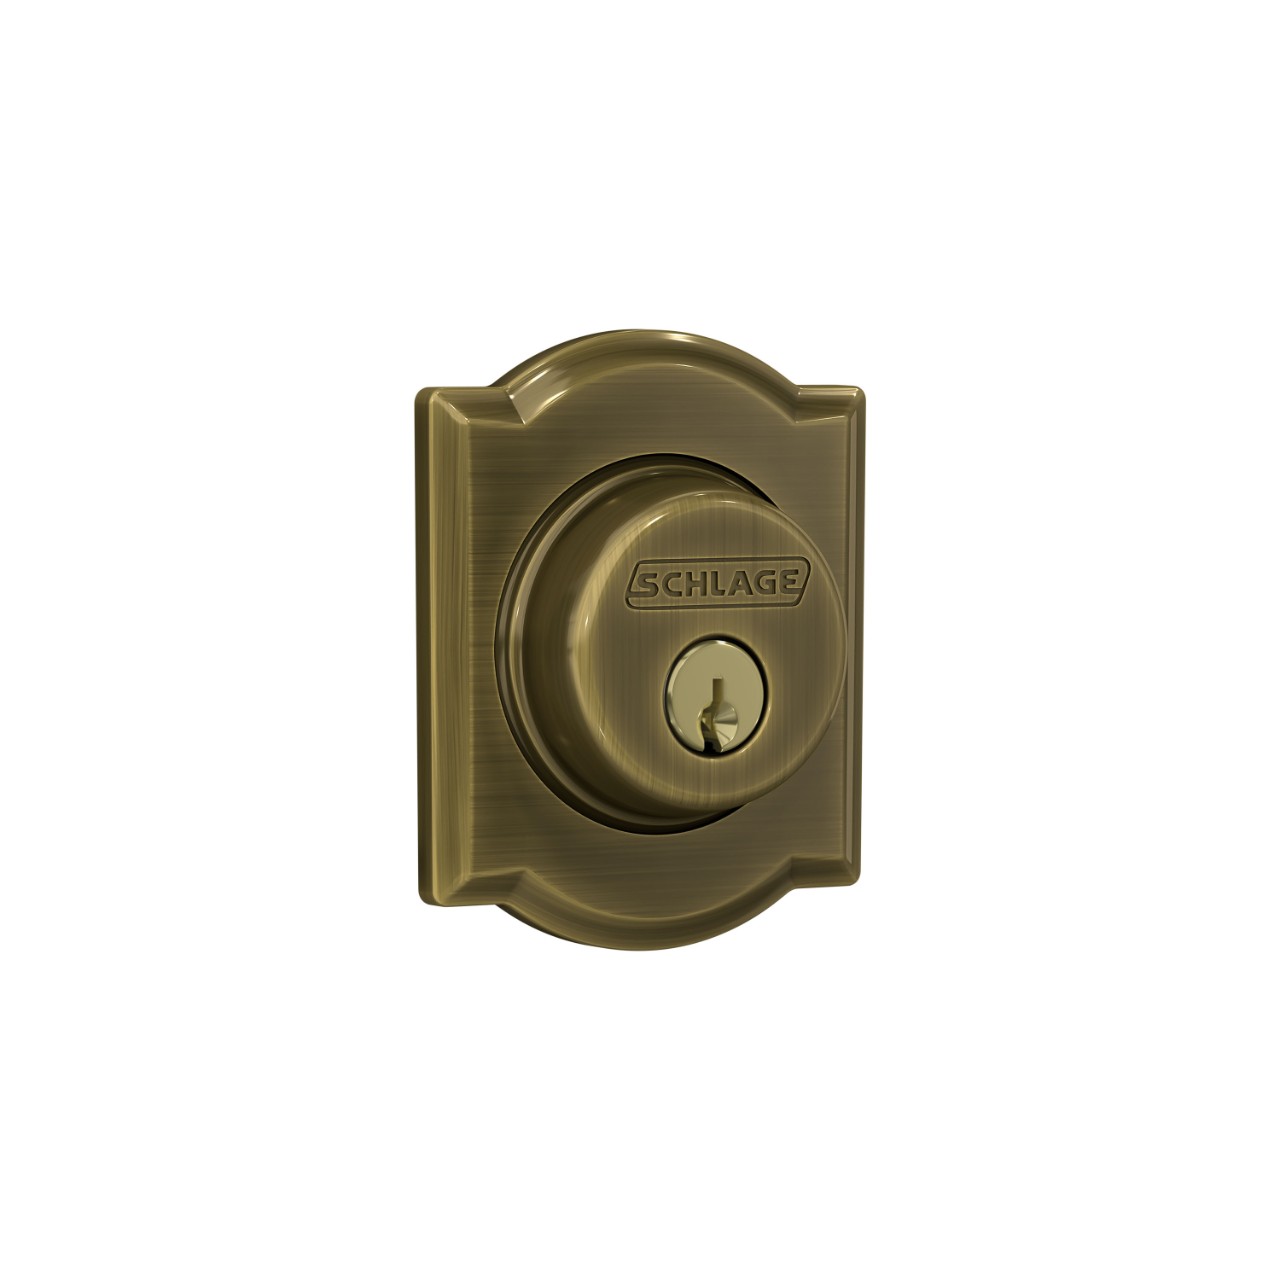
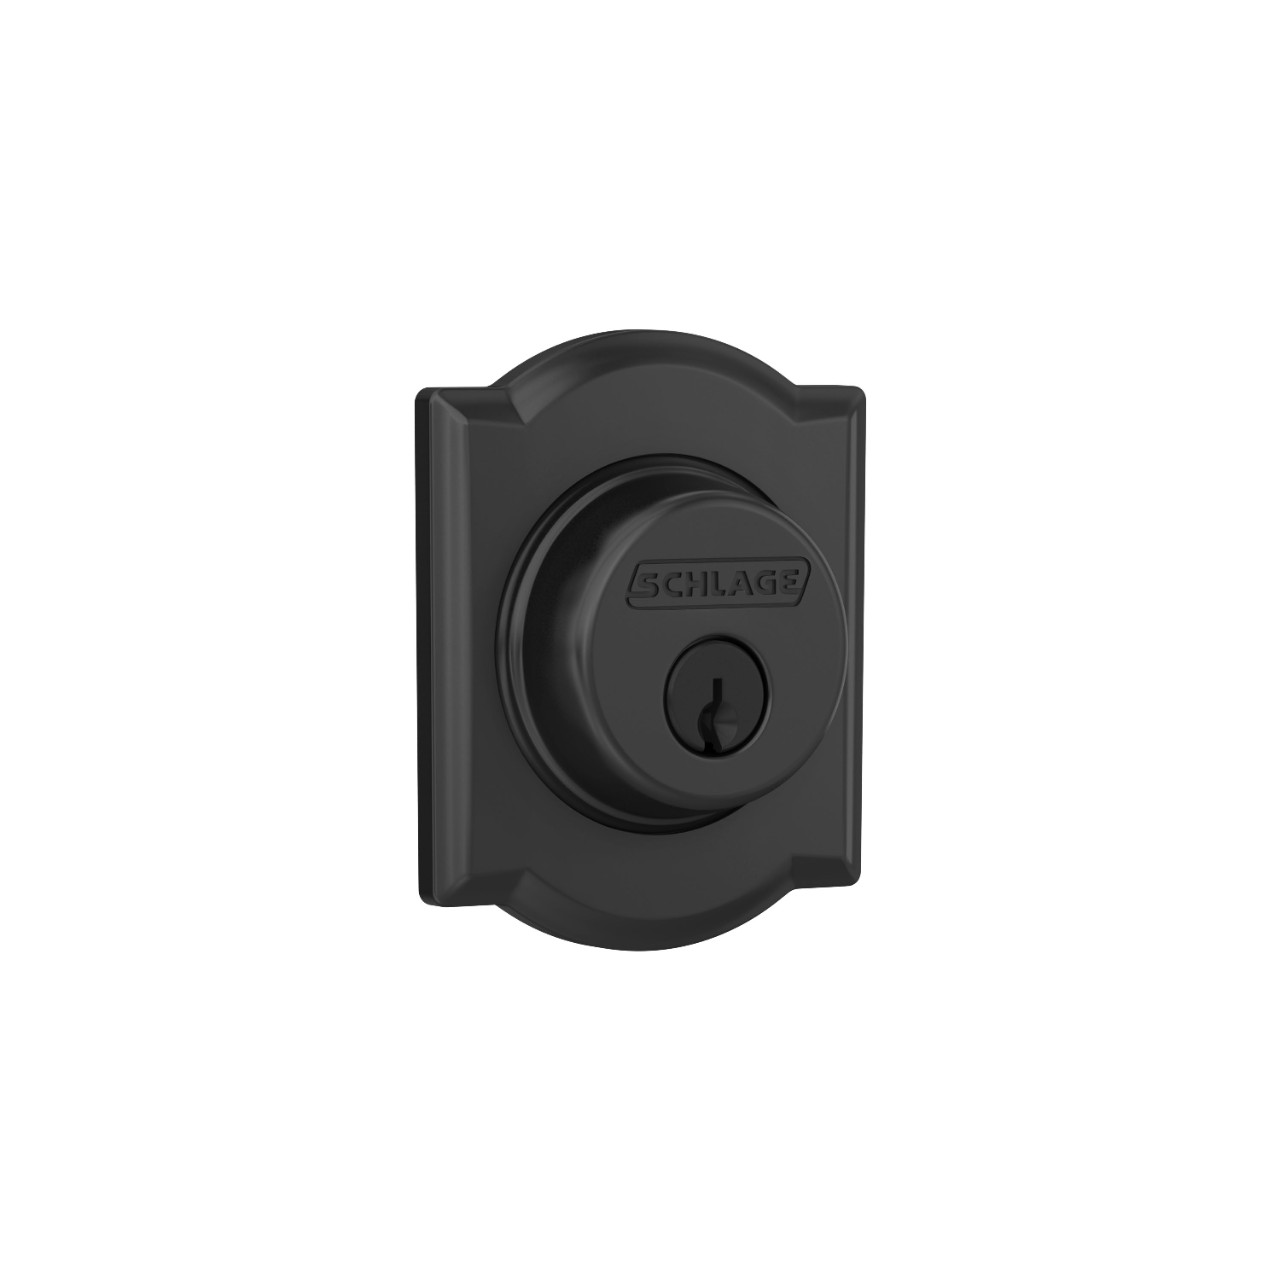
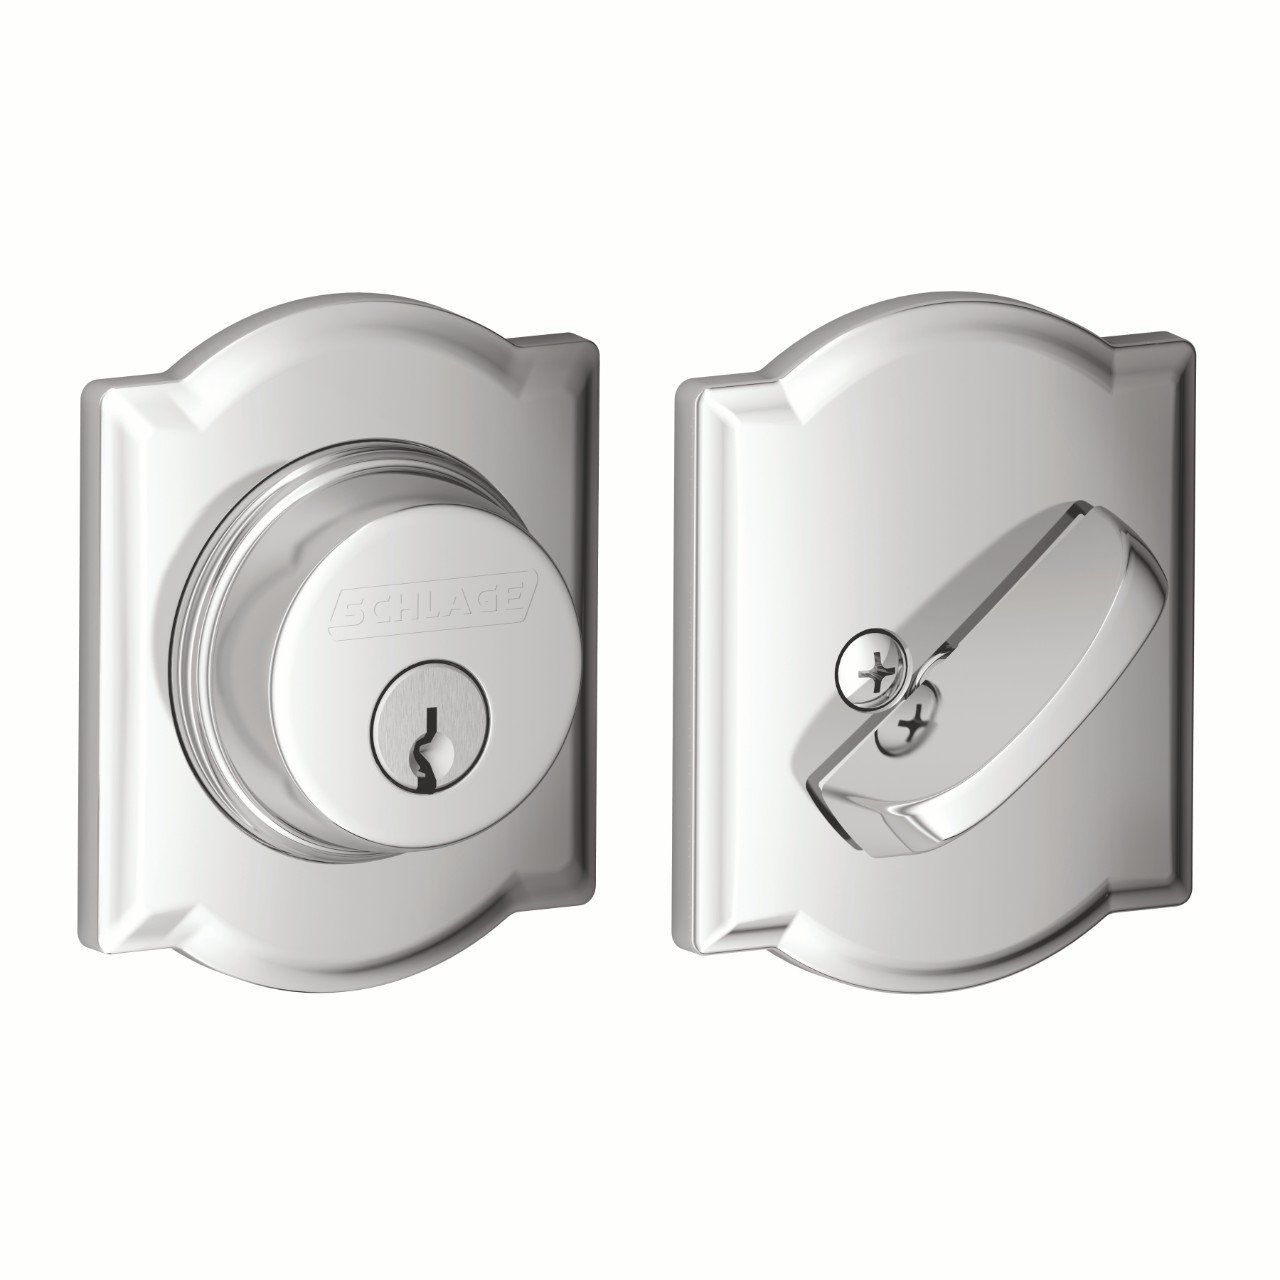
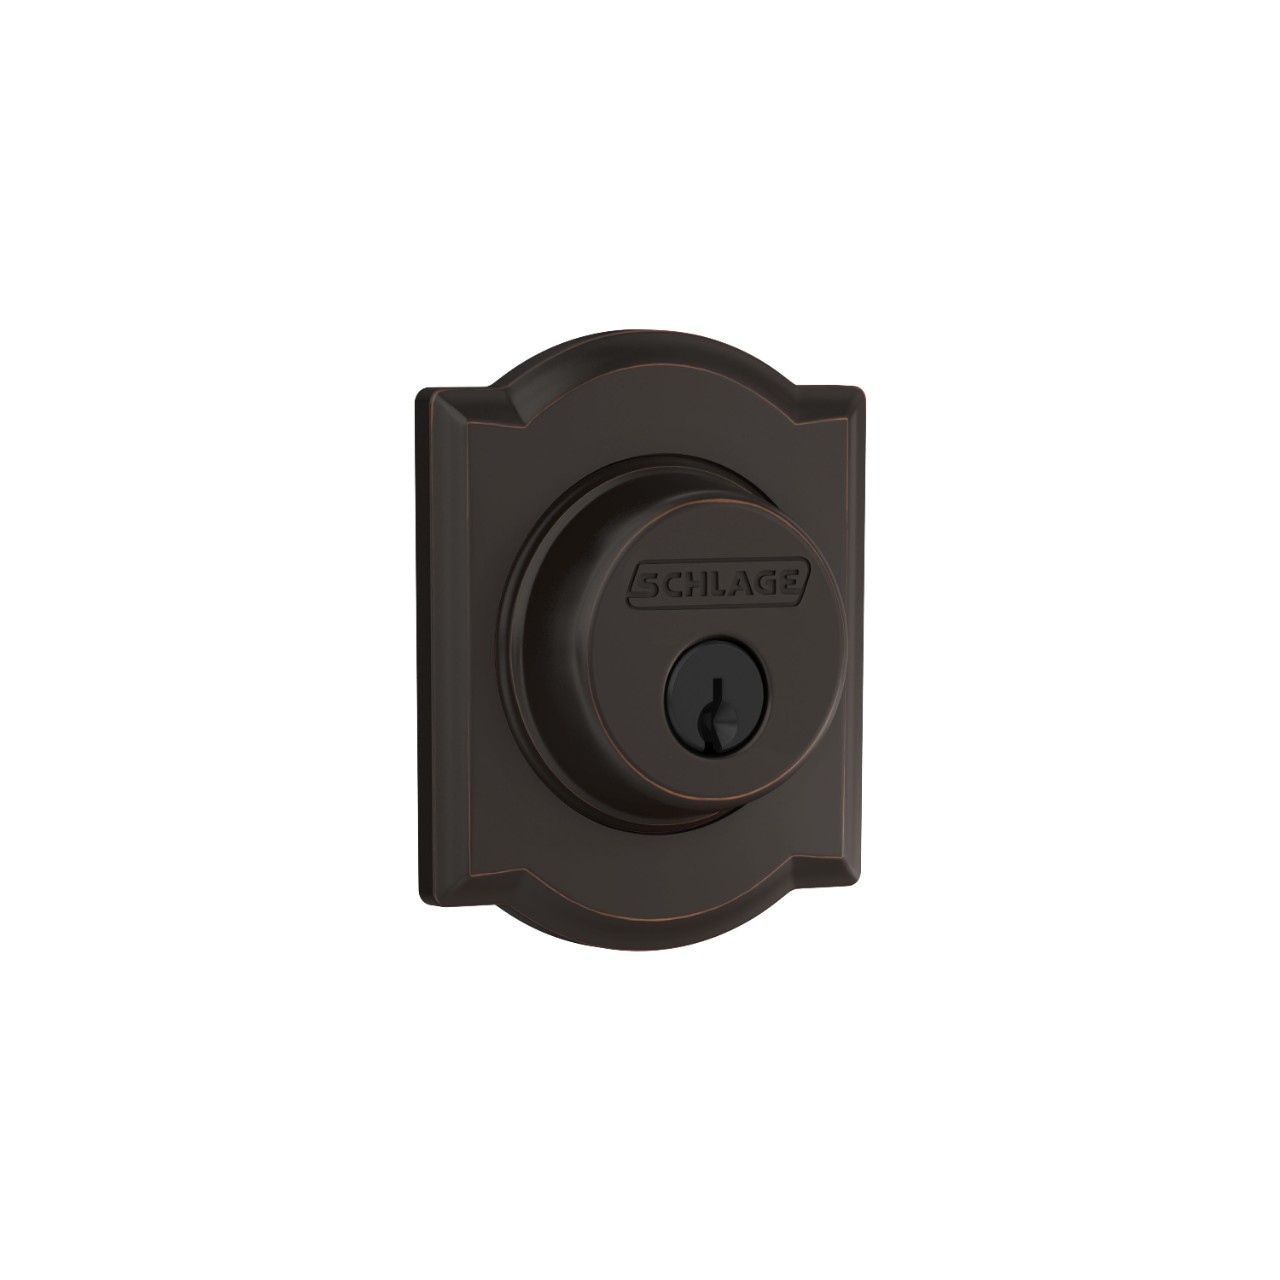
Camelot TRIM
From $37.99
From $37.99

Never miss a beat - get the latest product updates, style tips and DIY tutorials sent right to your inbox.

Back to top